
Adding Social Space to a Barren Backyard
Part 3 of the 8-part Backyard Remodel series.
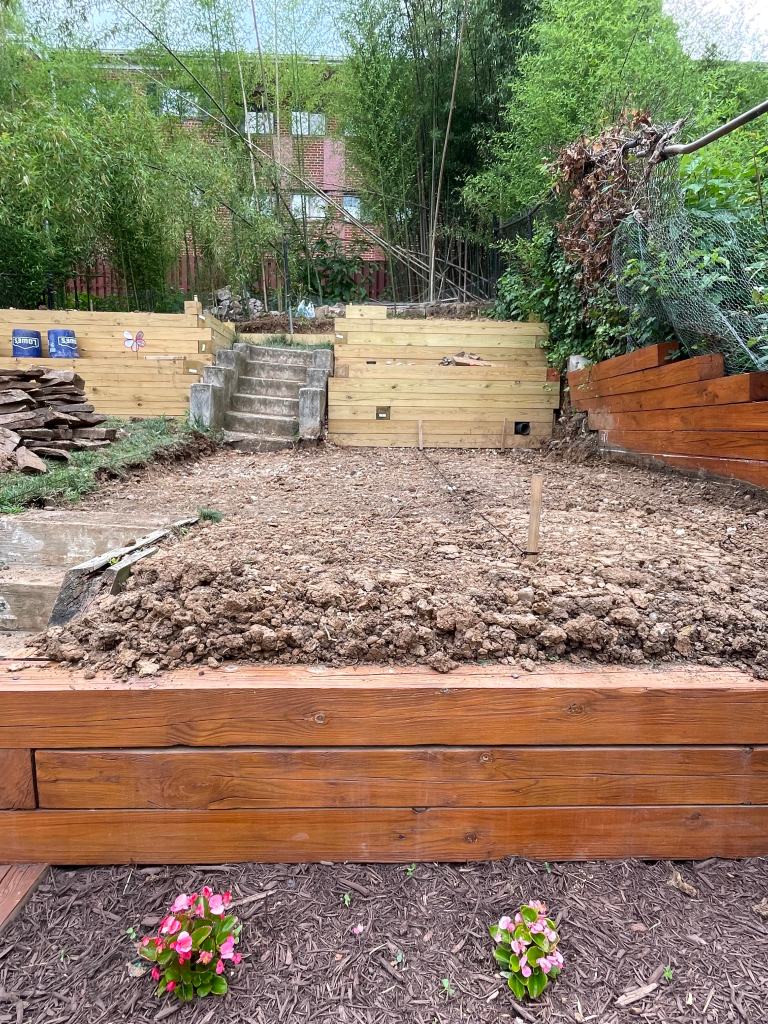
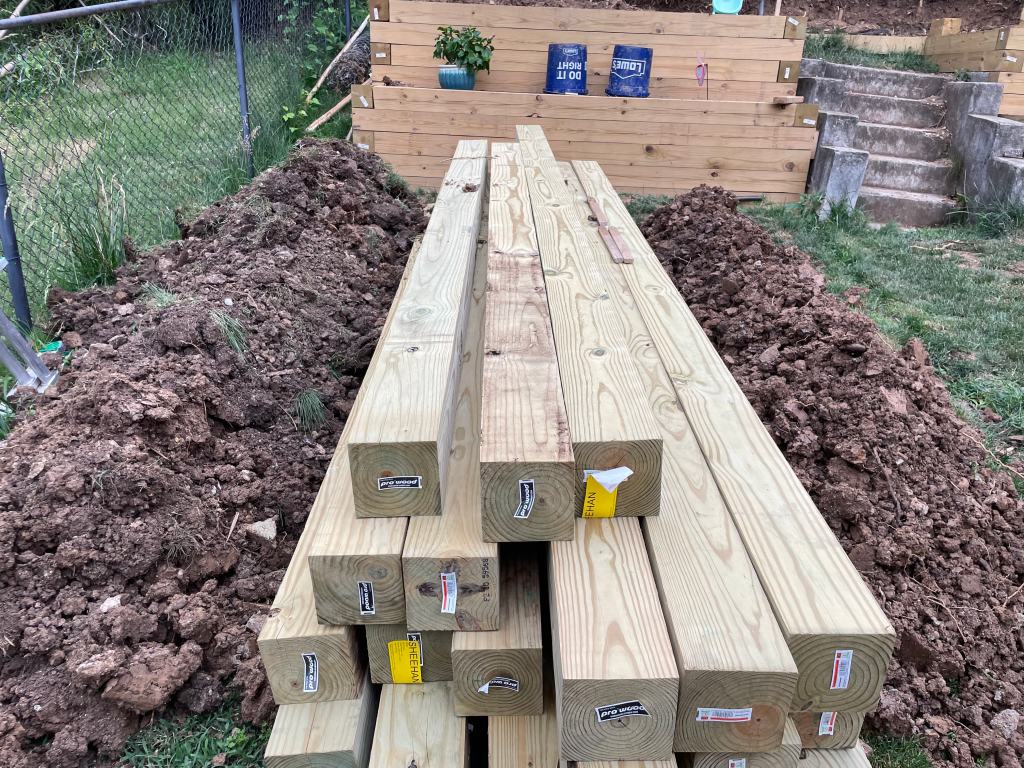
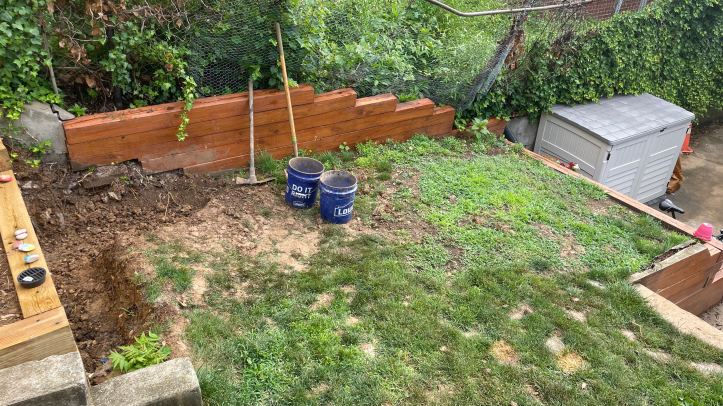
Up till this point, the yard was too sloped to accommodate any type of social space. With the new timber retaining walls complete, I had around 150 SF of newly-created usable space that was the perfect size for a patio. I combed the internet to learn how to lay a stone patio, ordered a “Patio Pack” of Silver Gray sandstone pavers, 5.5 tons of stone aggregate, and 1.5 tons of stone dust from a supplier and got to work!
The Great Leveling
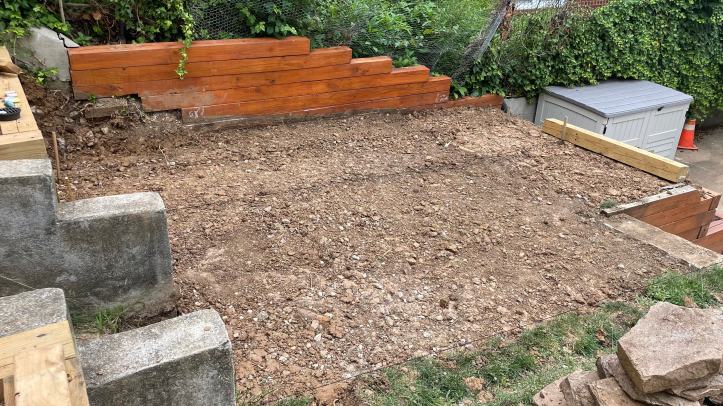
There was still quite a bit of soil that needed displaced before the patio base could be laid. It took a couple weekends just to get the site ready. I excavated to a 4.5” depth to be filled with packed aggregate and leveled the site at 1/8” slope to permit adequate drainage. I needed to displace quite a bit more dirt than I originally thought was needed – there was barely enough room to store it on the other half of the yard.

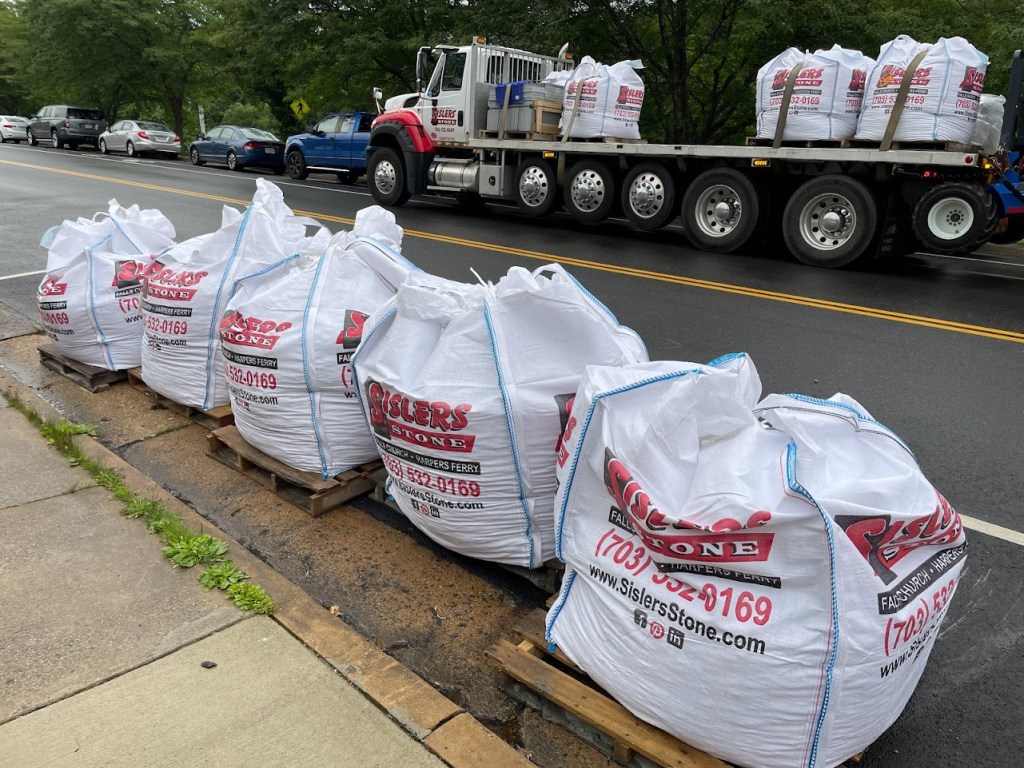
Stone Hauling Marathon
The most intimidating part of the patio job was the sheer amount of stone aggregate needed to form the patio base. Heavy machinery can’t access our backyard; there the staircase is too steep for a wheelbarrow. Everything transported to the backyard needs to be hauled by hand – including the 5.5 tons of stone aggregate. Knowing this, I put in for some vacation days at work, oversaw the delivery from the supplier, rented a plate compactor from Home Depot, and got to work with two 5-gallon buckets, a shovel, and ibuprofen. After 13 hours of individually hauling 11,000 pounds of stone (quite literally from sun-up to sun-down), I had a solid base layer for the stone pavers.
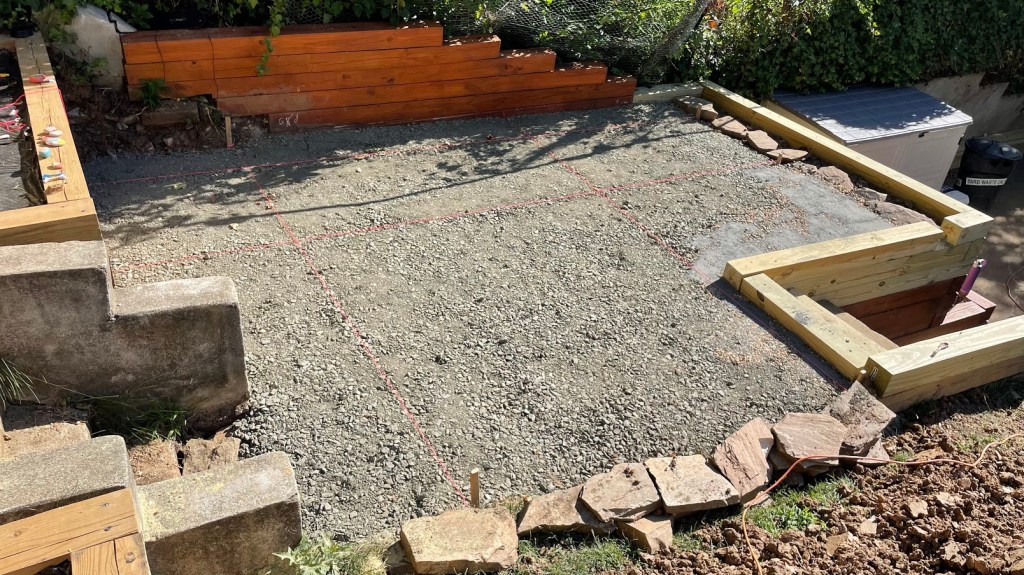
Turning Nothing into Something
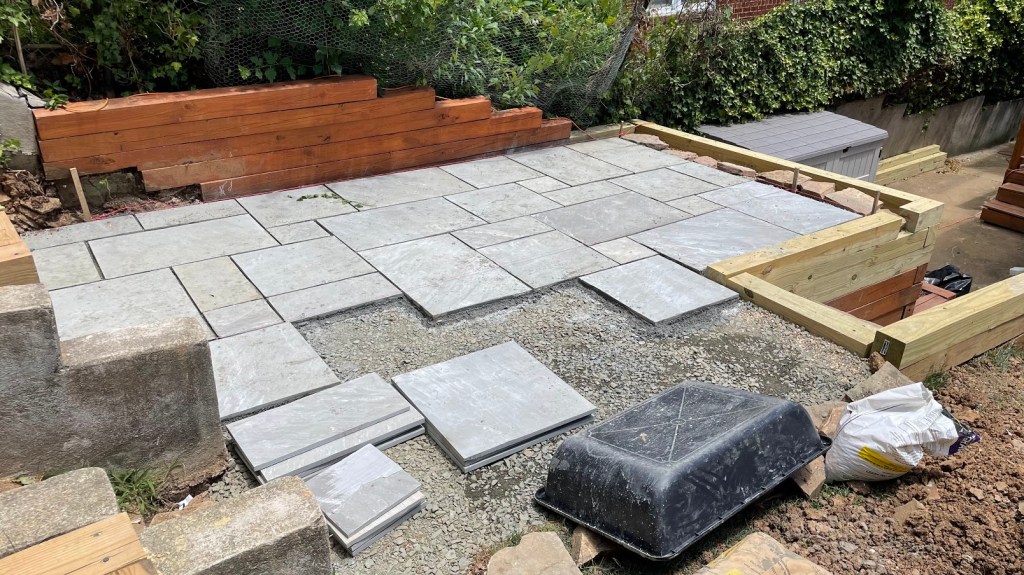
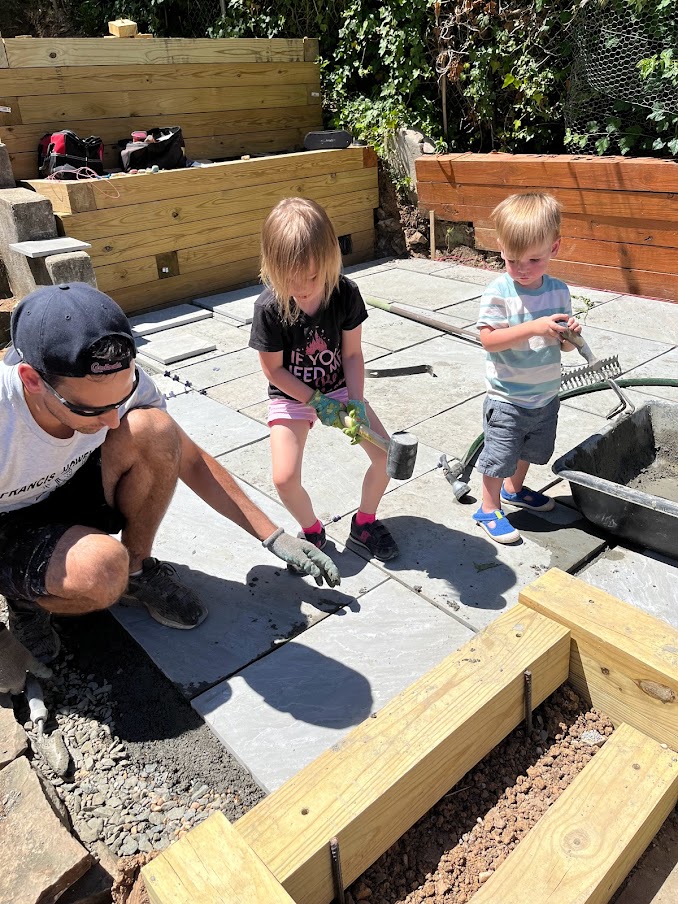
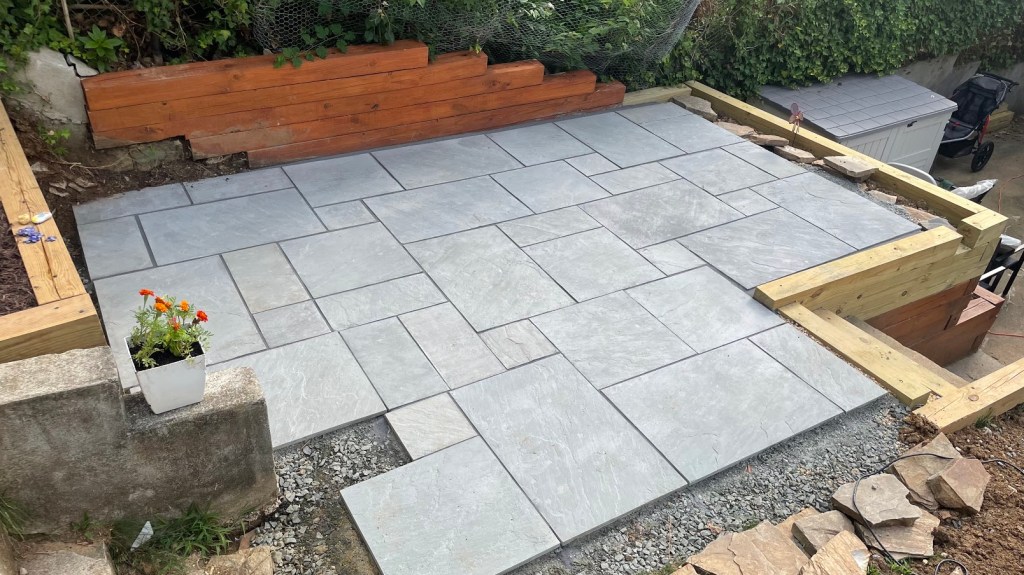
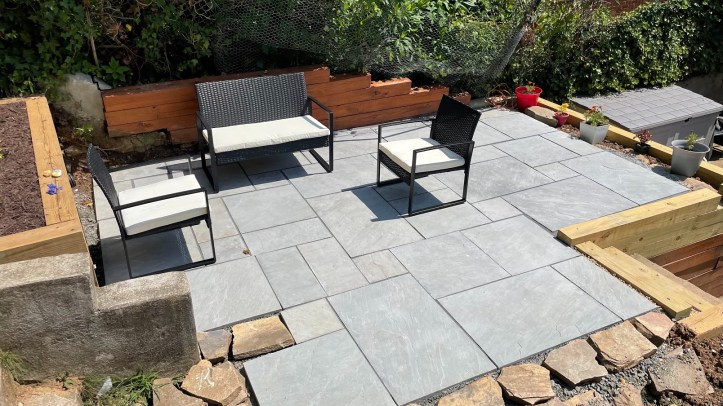
After a few much-needed recovery days, my dad came into town and we got going on laying the stone. We used a mixture of Portland Cement and stone dust (1:8) to form the setting that secured the stone pavers to the base. I laid the stone according to a pattern that came with my patio pack, which is a huge comfort to uncreative types such as myself; it also helped me avoid having to make any cuts to the stone pavers. It took us a couple of days but the end product turned out quite well! I filled the joints with polymeric sand and celebrated with some Port City Optimal Wit.
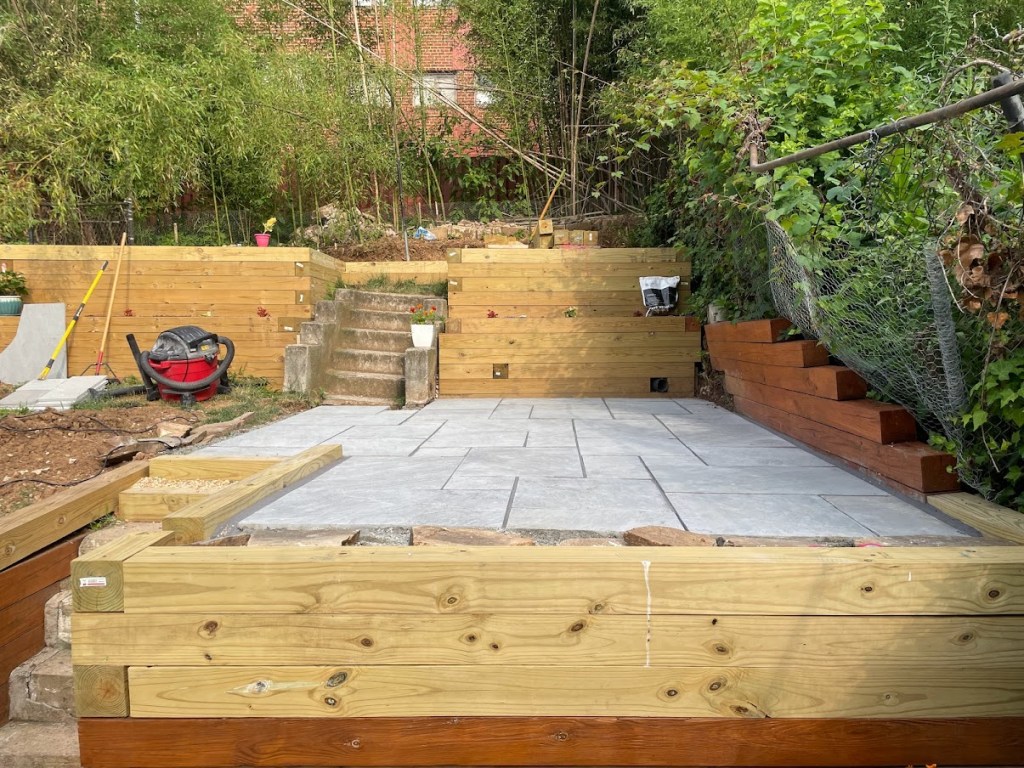
The four phases of construction:

The Saga Continues
I still need to complete a few tasks before fully completing the patio, including adding trim, a pergola, supplemental side wall, and removing the existing concrete steps to finish the southwest corner of the patio. But lack of time and cash mean these will likely have to wait until next year.
For now, completing the primary patio tasks bring me one step closer to the reimagined backyard. Next up, Phase 4: Play Area
Phase 1: Project Planning & Prep
Phase 2: Retaining Walls
Phase 3: Patio
Phase 4: Play Area
Phase 5: Safety Fence
Phase 6: Seeding & Landscaping
Phase 7: Privacy Fence
Phase 8: Custom Playground

Looking good
LikeLike