
Maximizing Space in a Small Backyard
Part 2 of the 8-part Backyard Remodel series.
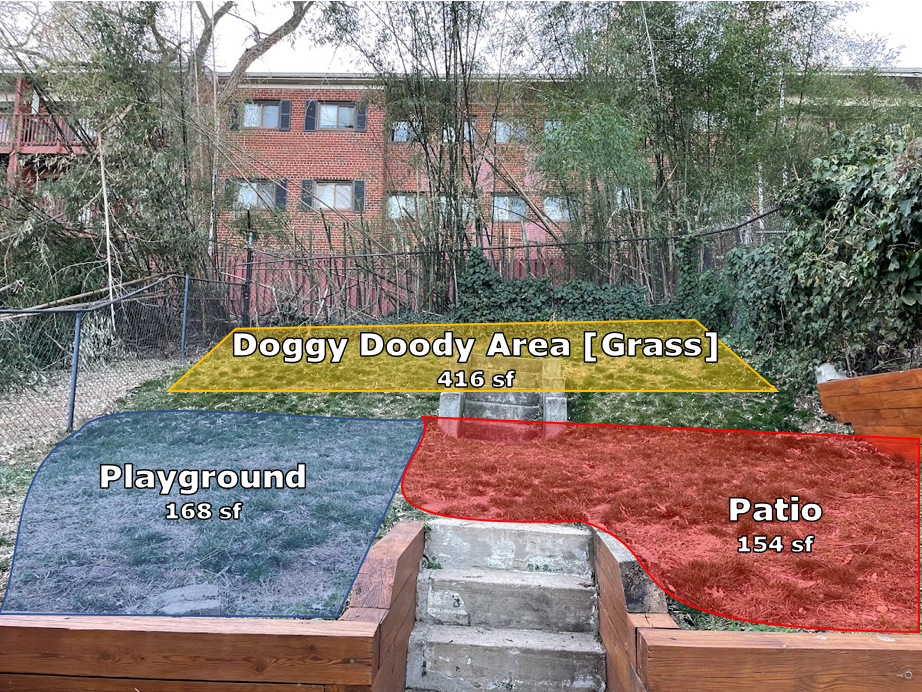
After a blizzard provided the spark for a major backyard renovation project, I had to find a way to maximize space in a tiny 730 SF yard. The yard is obnoxiously steep; it rises 13 feet over the course of 37 feet (a 19 degree slope). The steep slope formed the space into an impractical nuisance that was difficult to maintain. It also seemed to be a serial tripping hazard for toddlers, fit for a nomination to r/ChildrenFallingOver.
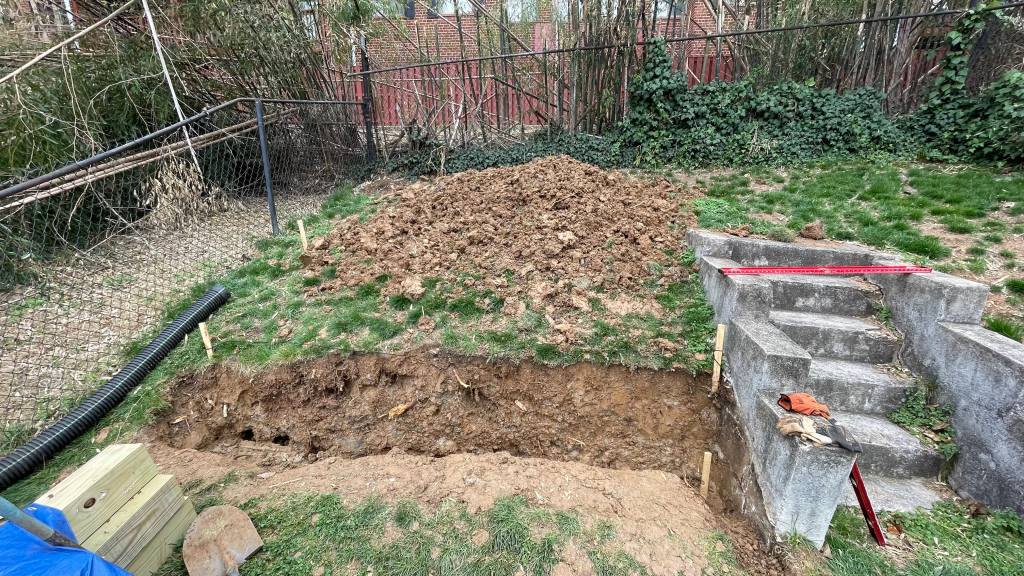
Locating a wall in alignment with the “Stairs to Nowhere” seemed to make the most sense. Given the yard’s slope, a wall located a little over halfway along the yard’s length would provide enough space for a patio and modestly sized swing set on the lower tier. Perhaps there was/is a more scientific way of choosing a space – I’m no engineer – but I decided to take a shovel to the hill and hope for the best!
A Big, Beautiful Wall
After watching several videos on timber wall construction (the most helpful being from This Old House), I elected to give it go. Building a timber wall couldn’t be much more difficult then piecing together vastly upscaled Lincoln Logs, right? Well… one difference is the need to transport 10’ or 12’ timber weighing 100+ pounds, depending on wetness of the wood, and 1.5 tons of gravel. My Outback wasn’t going to cut it, so a U-Haul was in order. The entire first day of the project was spent transporting materials and lugging buckets of rock to the worksite alongside my ageless father; we were pack mules for the day.

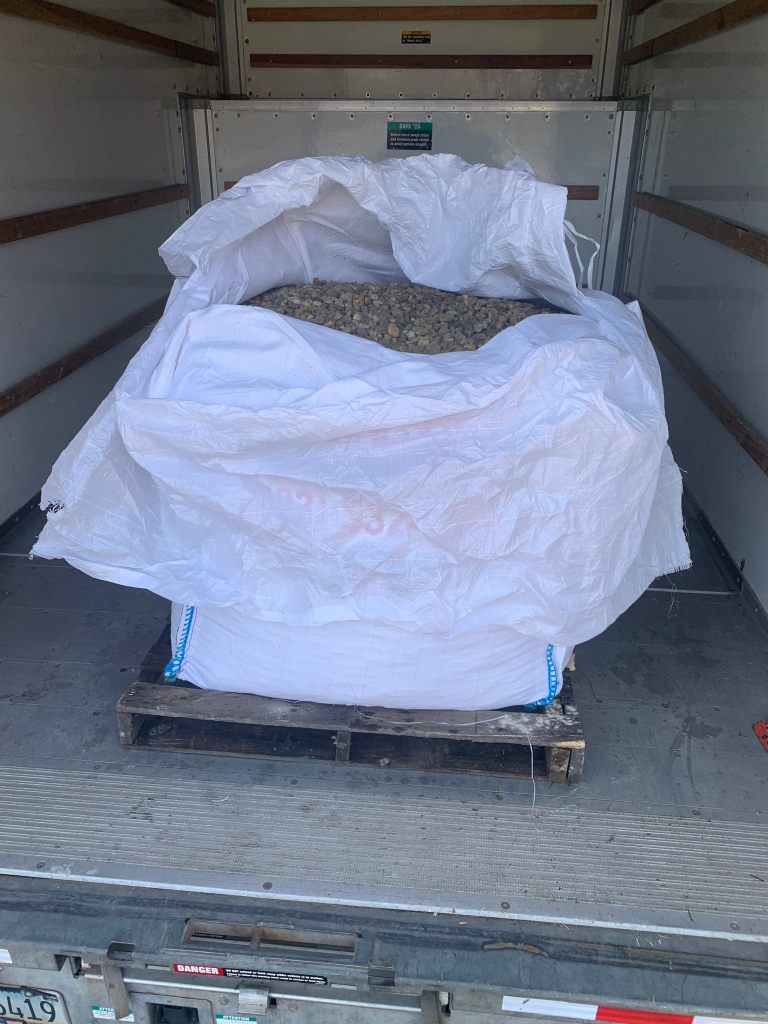
Also, if you’ve ever been curious how 1.5 tons of gravel can be neatly transported… look no further than the Supersack!


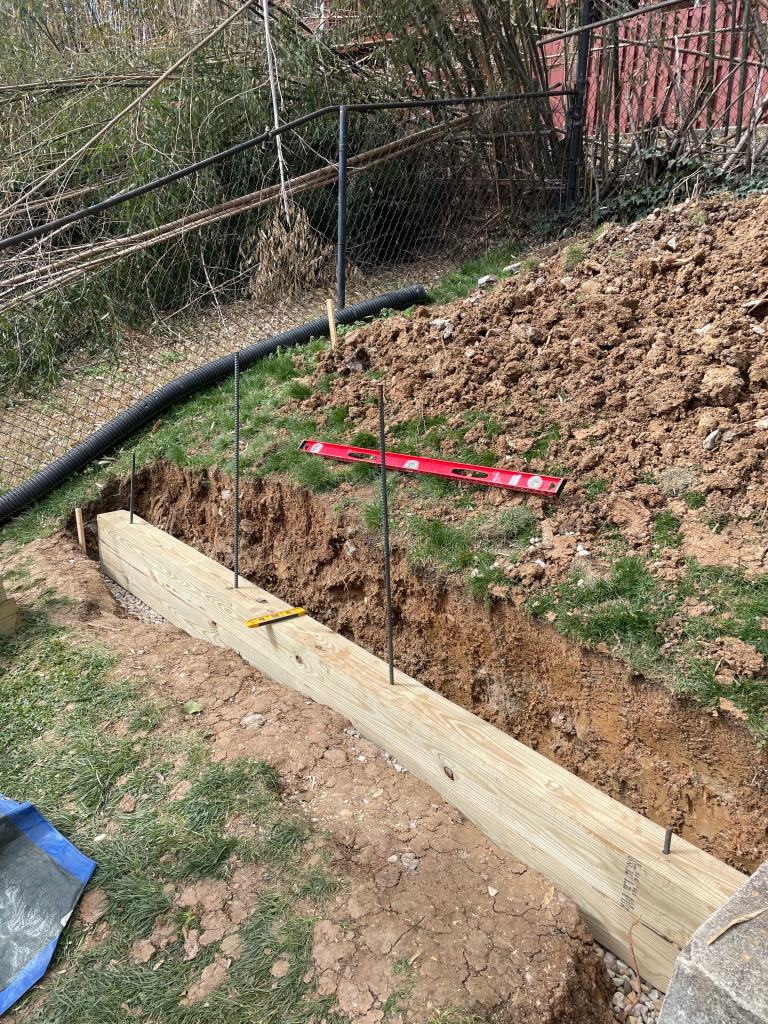
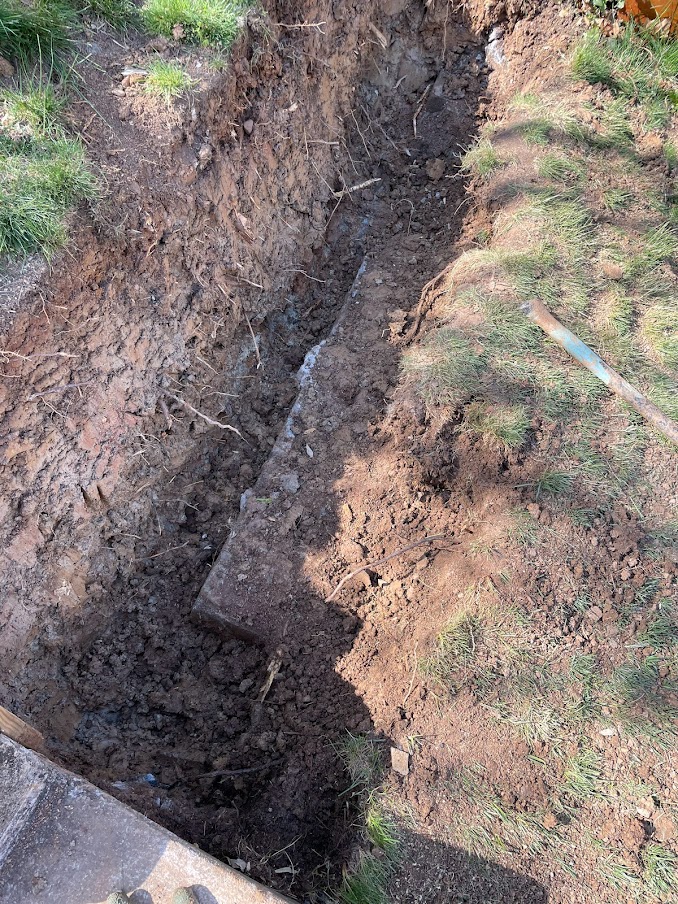
Day two consisted of digging and hacking away at the gobs of clay soil that stood between me and my vision. Since I located the wall partially up the most steeply-sloped portion of the yard, more labor was needed for excavation and grading. But the extra square footage justified the time investment. I excavated so that the first log would rest on a 4” bed of compacted gravel sit 4” below grade once the project is complete.
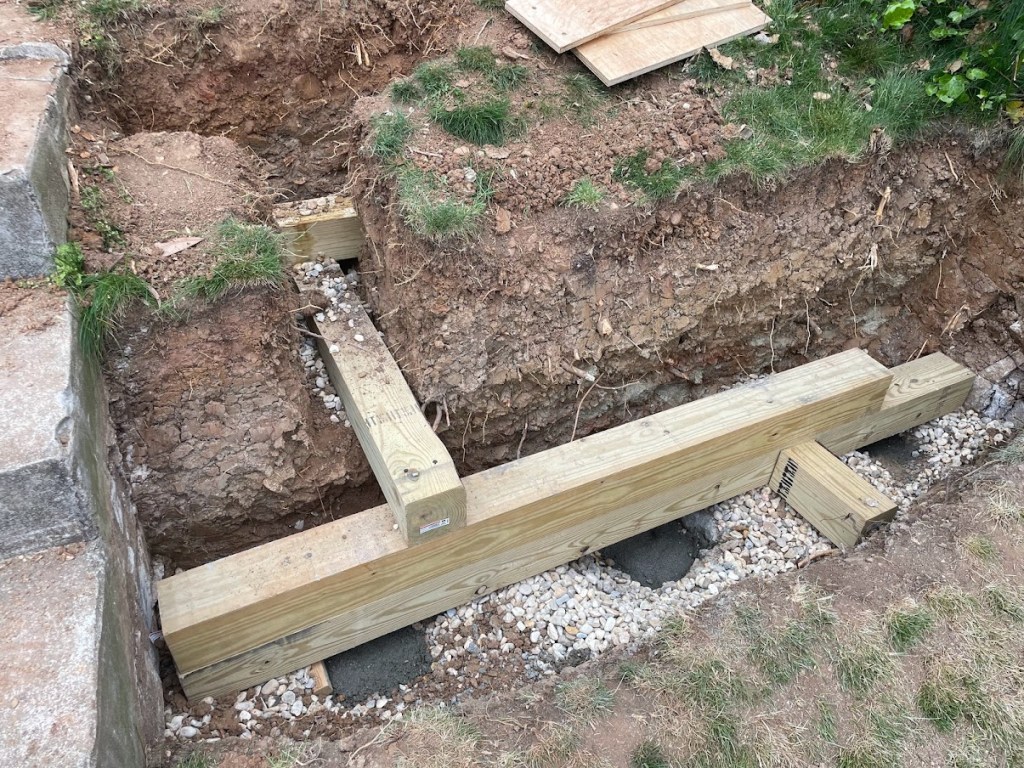
Day three yielded a much more satisfying result than the first two days. Turns out setting timber on a properly prepped gravel bed isn’t too vexing. I hammered a 4’ iron rod through the first two courses of timber and secured the rest with 10” specialized wood screws. Next came the perforated drain pipe and landscape fabric to prevent dirt from seeping through. I added deadman anchors to the sidewalls to [theoretically] help prevent the wall from pushing forward over time.


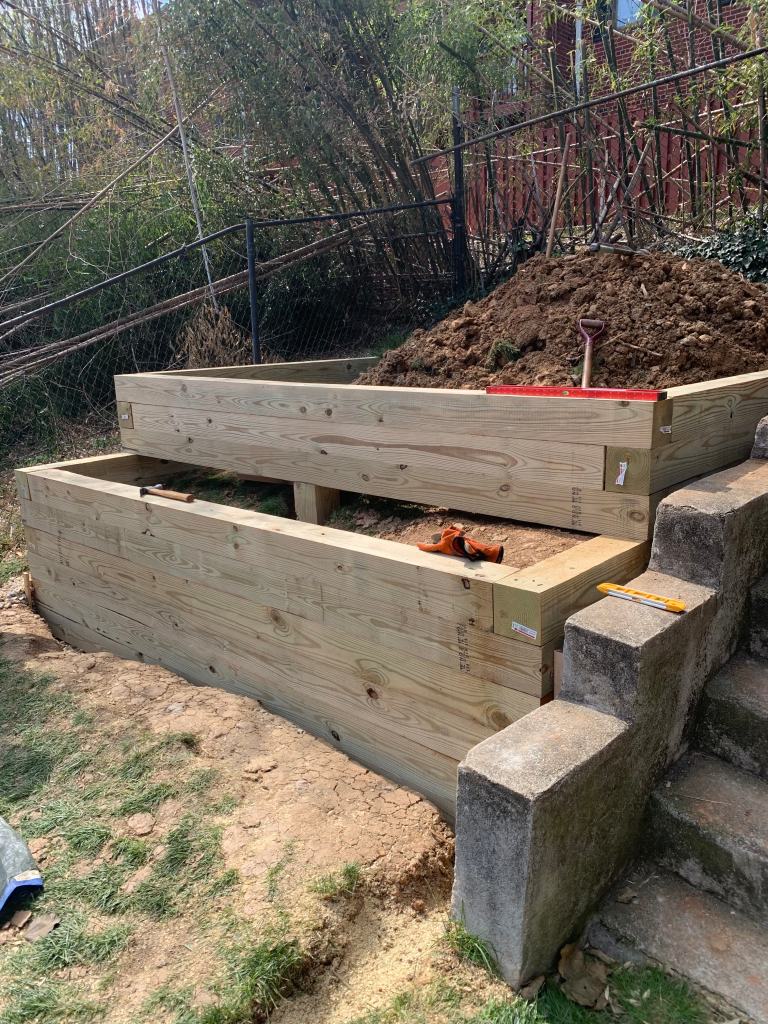
The wall rose steadily until we had six timbers in place at a height of around 3.5’. At this point we set the wall back 18” to breakup the monolithic structure; my hope is to eventually fill the setback with some greenery. Rather than set the first timber of the second tier on fill, I opted to use a post in the center of the wall with hopes that it would stand the test of time. Can’t say it’s a foolproof method, but we have existing walls that used this construction method and it seems to have worked quite well. We ended day three by setting the post in concrete and letting it set overnight. On our fourth and final day, we added the final three timbers which grew the total height of the wall to ~5’.
Twice The Wall, Twice The Fun
A couple months elapsed before taking a stab at the second wall on the other side of the Stairs to Nowhere. Doing the same thing over again didn’t seem too intimidating since the first wall went mostly smooth. And so, excavation began… only to uncover an unexpected surprise: The base of a cinder block wall was chillin exactly where I planned to build the new timber wall!
Surprisingly, removing the cinder block proved not much more cumbersome than hacking through the clay soil. Even better: The cinder block provided a nice base for the new wall, so I tried to build the new timber wall right on top of the submerged old cinder block. Things went swimmingly until it came time to drive in the iron rods… which we learned can bend like candy canes if they meet enough resistance.
As it turns out, just below the unearthed cinder block rested a concrete slab at least 6” thick. After several attempts to break it up, I threw in the towel and resolved to use the pad to my advantage. I improvised a solution where rods were sunk and set in concrete within the holes of the cinder blocks mortared to the concrete pad. Much to my dismay, I added a deadman to the second course of timber which meant another round of cutting through clay and bamboo roots, giving me even more time to contemplate the existential question of “Why did I want to build this damned wall?”
We overcame the base layer challenges and built upon a foundation that I’m sure will last a lifetime (…in dog years, if I’m lucky). By the end of the weekend, an identical retaining wall now mirrored the first wall across the Stairs to Nowhere. The yard had been – dare I say it – retained. A cohesive mass of timber now made it possible to create functional spaces for play, relaxation, and doody.

Over Under: 10 Years
I never pursued a price quote for professionally installing the retaining wall. I’m nearly certain it wouldn’t have been affordable on my tight budget. This assumption was validated as I planned meticulously for the walls, only to have those plans upended as I toiled away in the trenches. Constructing the wall was much more nuanced than simply stacking oversized Lincoln Logs on top of one another – particularly with preparing and laying the base.
To be frank, many shortcuts were taken when building the wall. My confidence in the project further deteriorated when we dug up the literal ruins of a failed wall that once stood in the exact same spot.
My coping mechanism throughout the process was to accept that the investment would be justified if it lasts 10 years (less than half of the typical life expectancy of timber walls, ~25-40 years). Start the clock! Let’s see if my workarounds were jank or legit.
The Saga Continues
Phase 2 of Backyard Remodel is complete! Here’s what’s next on the list:
- Phase 1: Project Planning & Prep
- Phase 2: Retaining Walls
- Phase 3: Patio
- Phase 4: Play Area
- Phase 5: Safety Fence
- Phase 6: Seeding & Landscaping
- Phase 7: Privacy Fence
- Phase 8: Custom Playground
